September 11, 2023
Introduction to the Opportunities View for Internal Linking

Robin Allenson
To effectively use internal linking with Similar AI, it’s important to familiarize yourself with the “Opportunities” view. This guide provides insights into the displayed data and how to best navigate the interface.
What does the ‘Opportunities’ view display?
The ‘Opportunities’ view displays potential areas for site optimization to enhance organic traffic and revenue. It allows you to create an action plan detailing what changes to make and on which pages. An opportunity can include pages that you’d like to consolidate, eliminate, link to, boost links to, create, or to which to add content.
Not only does the ‘Opportunities’ view outline the necessary actions, but it is also actionable. You can share an opportunity with clients or team members to show what you plan to do to the site, on which pages and why. Once decided upon, simply click ‘Publish’ to implement them. To view live opportunities, check the ‘Optimisations’ tab.”
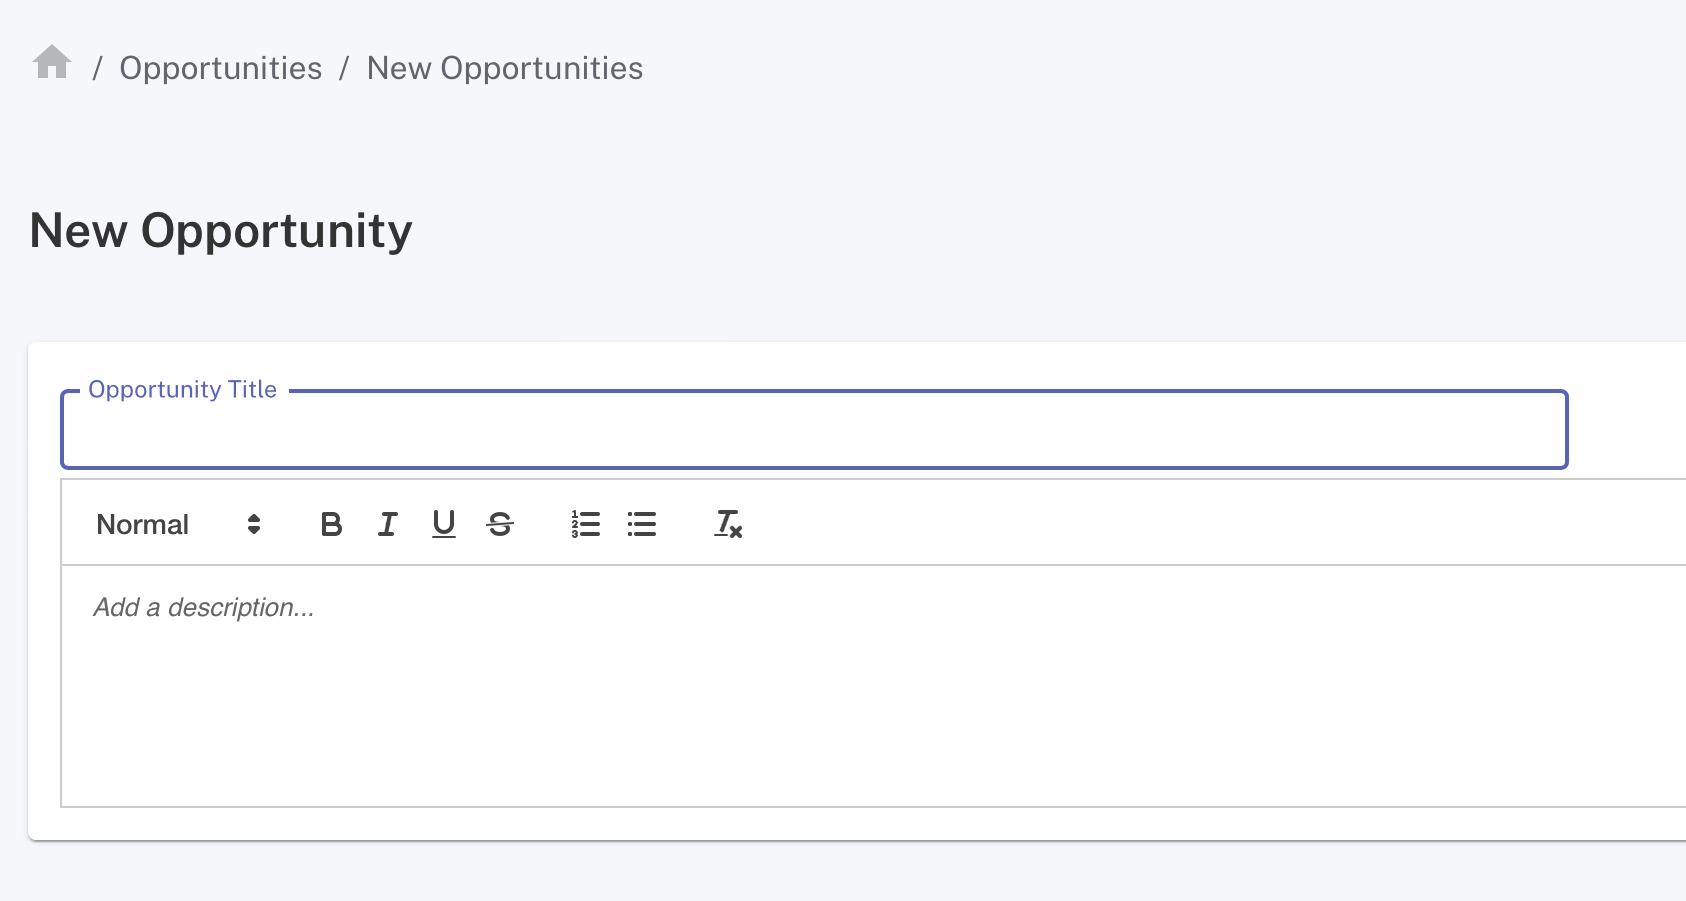
Adding A New Opportunity for Internal Linking
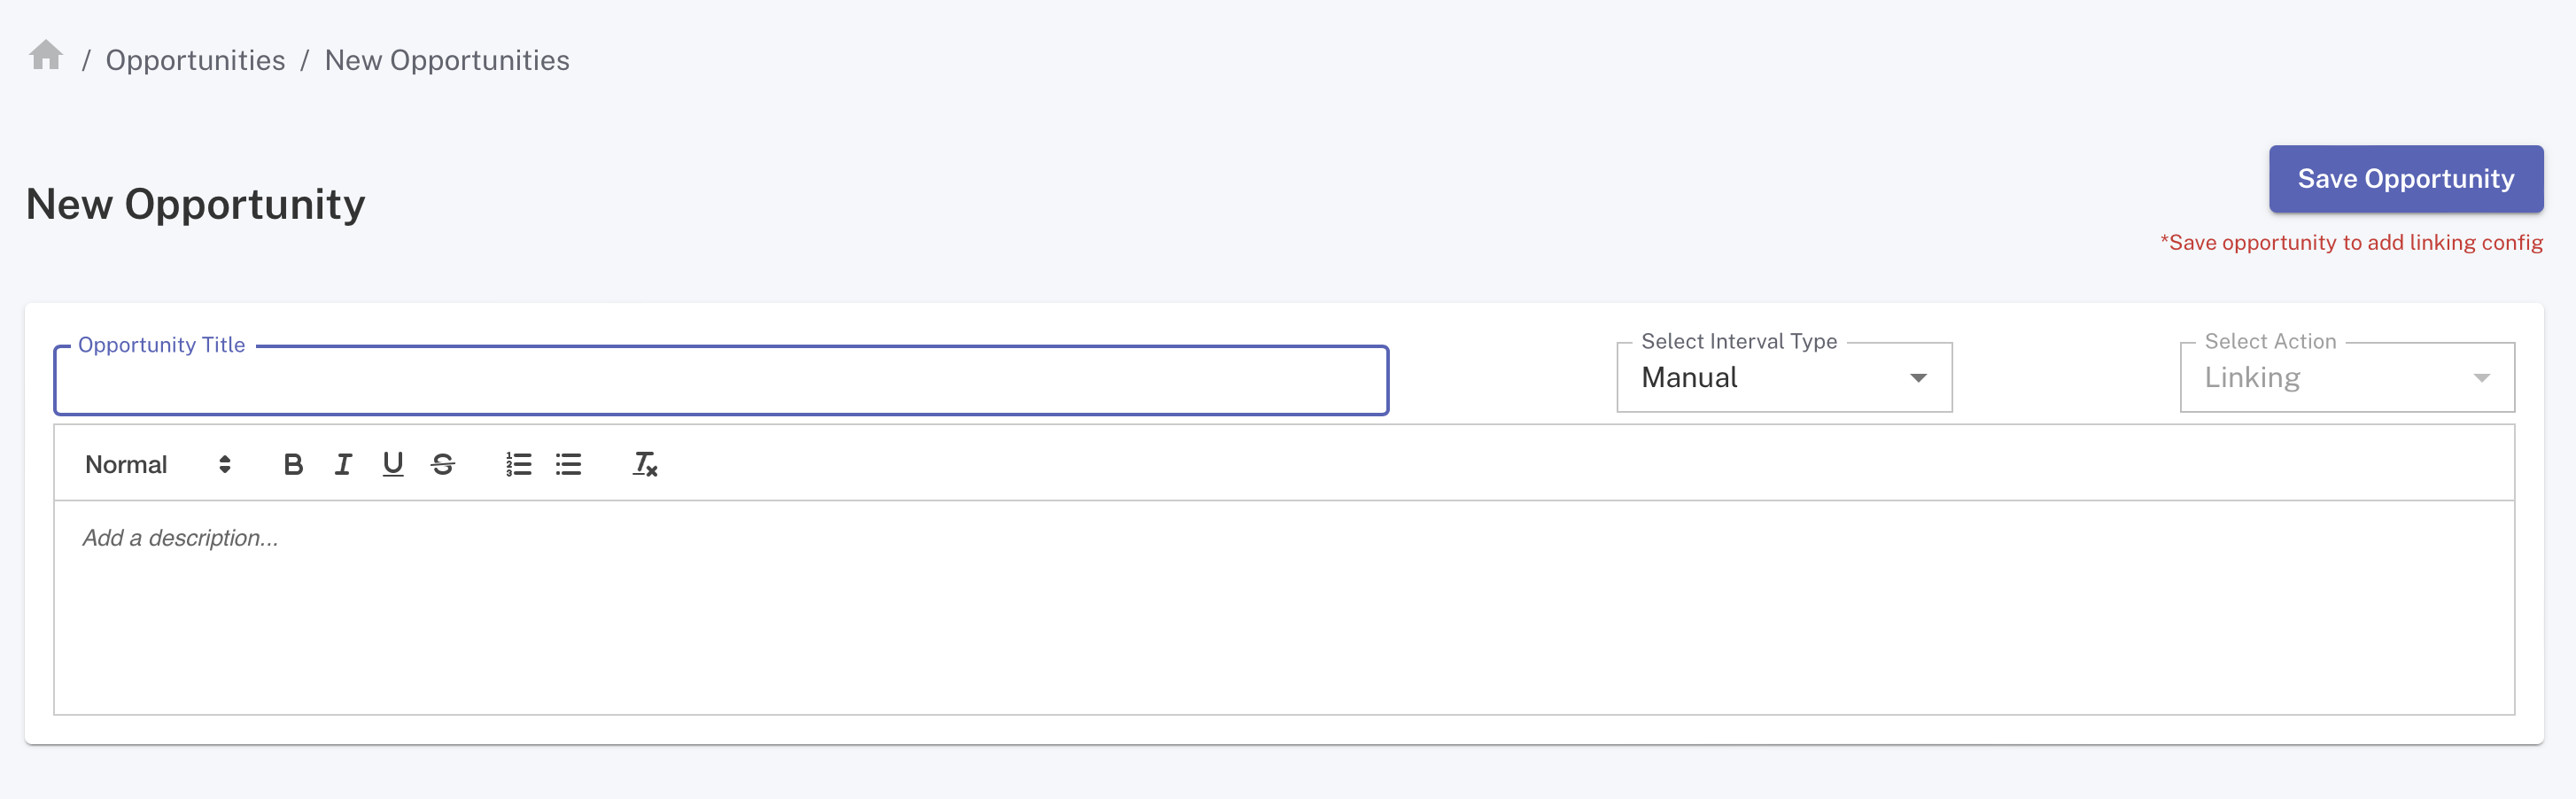
When you select New Opportunity, you’ll encounter:
Opportunity Title: Assign a name to your set of planned actions. For instance, “Blog page linking”.Opportunity Description: Elaborate on how the opportunity benefits the site. This can be brief or detailed. For instance, you might write “Automatically ensures all of our blog pages have relevant links and we never get orphan pages”. Or you might include a full article explaining how site pages with sufficient internal links are more likely to rank and generate organic traffic & revenue.Select Interval Type: Choose the frequency for running your internal linking setup.Manual: A linking opportunity is published when you decide to.- Auto-update: Daily, weekly, or monthly. The links will be adjusted based on page additions or deletions between crawls.
- If some pages have been removed between crawls, the links will update to no longer show those. This fixes broken links.
- If some pages have been added between crawls, other pages will automatically link to them, giving them the inlinks they need to be discovered and start ranking.
- After clicking
Save Opportunity, you’ll find the new opportunity in the ‘Opportunity List’ datatable. Click on it to access the details.
Setting up your Linking Config

What is a linking config?
A ‘linking config’ represents a fundamental building block of the internal linking logic. You can add and combine multiple internal linking configs to achieve the most suitable performance for your site.
A config sets up how many destination pages you want to link to, how you link, and the associated recipes you have created in Pages view under ‘Workbench’, including which pages you are linking from, which pages you are linking to, and which pages you give a linking boost.
For guidance, we’ve provided some practical use cases on setting up internal linking at the end of the article.
Setting up your linking config
Select or enter linking config name: You can choose a descriptive name for the internal linking config. For instance, you might talk about what kinds of pages you’re linking to or from. If you can’t think of anything, leave it asdefault.Position: The name for where the blocks or modules are on the page. It can be the categories on the top of a page, an internal linking block at the bottom, or a ‘Discover More’ block. Note: You can have multiple configs for a single block.Count: Specifies the number of links to show in this config. A typical range is 5-12 links. Some sites have a lot more, but it can be hard for the user to differentiate between them. Often it’s better for users if you split these into different blocks. So the config sets up how many links you want to do and how many links you want to show within a given section.Typecan be one of the following two options:Popular searches: Add an internal linking block that maximizes the inlinks from influential pages to the highest traffic pages. Some sites call this out to users as ‘Trending Categories’.Related searches: Add an internal linking block that only links to topically relevant pages, potentially at the expense of linking to pages with demand. This option facilitates linking to pages that elicit exactly what users are looking for.
Constraint: Select an ingredient in the datatable to use as a constraint in linking. Typically this involves only linking to pages in the same category. For example, if a fashion site has an ingredient$category(perhaps showing t-shirt, polo shirt, trousers etc), then the pages in the t-shirt category will only link to other pages belonging to the same t-shirt category.Nearby Radius: Use for location-specific pages. Define a radius to limit links to pages within a particular distance. The Similar AI’s AI looks at a page and identifies whether it’s about a location. If it is, it extracts that location and geocodes it.
How do we measure relevance for related searches?
Our AI employs two distinct approaches to determine the relevance of the pages we link to.
- The first relevance measure uses the organic ranking URLs on SERP to determine the degree of page similarity. This works well for very granularly similar or particular knowledge of certain brands. However, as the two pages get further away from each other, it doesn’t work at all.
- The second relevance measure uses our Large Language Model (LLM) for a more expansive subject understanding across multiple languages. It helps to dive deep into the semantic essence of these pages.
Save the Linking Config and Preview the Opportunity
After setting up the config’s details, click Create Config to save them.
With your Opportunity and the linking config set, you can preview them before going live.
Preview: This initiates the Linking Graph of which pages will link to others based on what you set. To monitor its progress, navigate to Setup > Jobs.- Once the internal linking opportunity job has succeeded, go back to
View Opportunity. You’ll be able to see a plus icon next to the pages’ URLs in the datatable. Click this icon to review the list of target URLs and determine if further adjustments are necessary.
- Once the internal linking opportunity job has succeeded, go back to
Publish: Once you are satisfied with the Preview, clickPublishto activate the internal linking on your website.
Internal Linking Use Cases
Now that you have an overview of an Internal Linking Opportunity and its interface, it’s your turn to experiment and create your first opportunity. Explore the use cases below, showcasing successful implementations by our clients: